

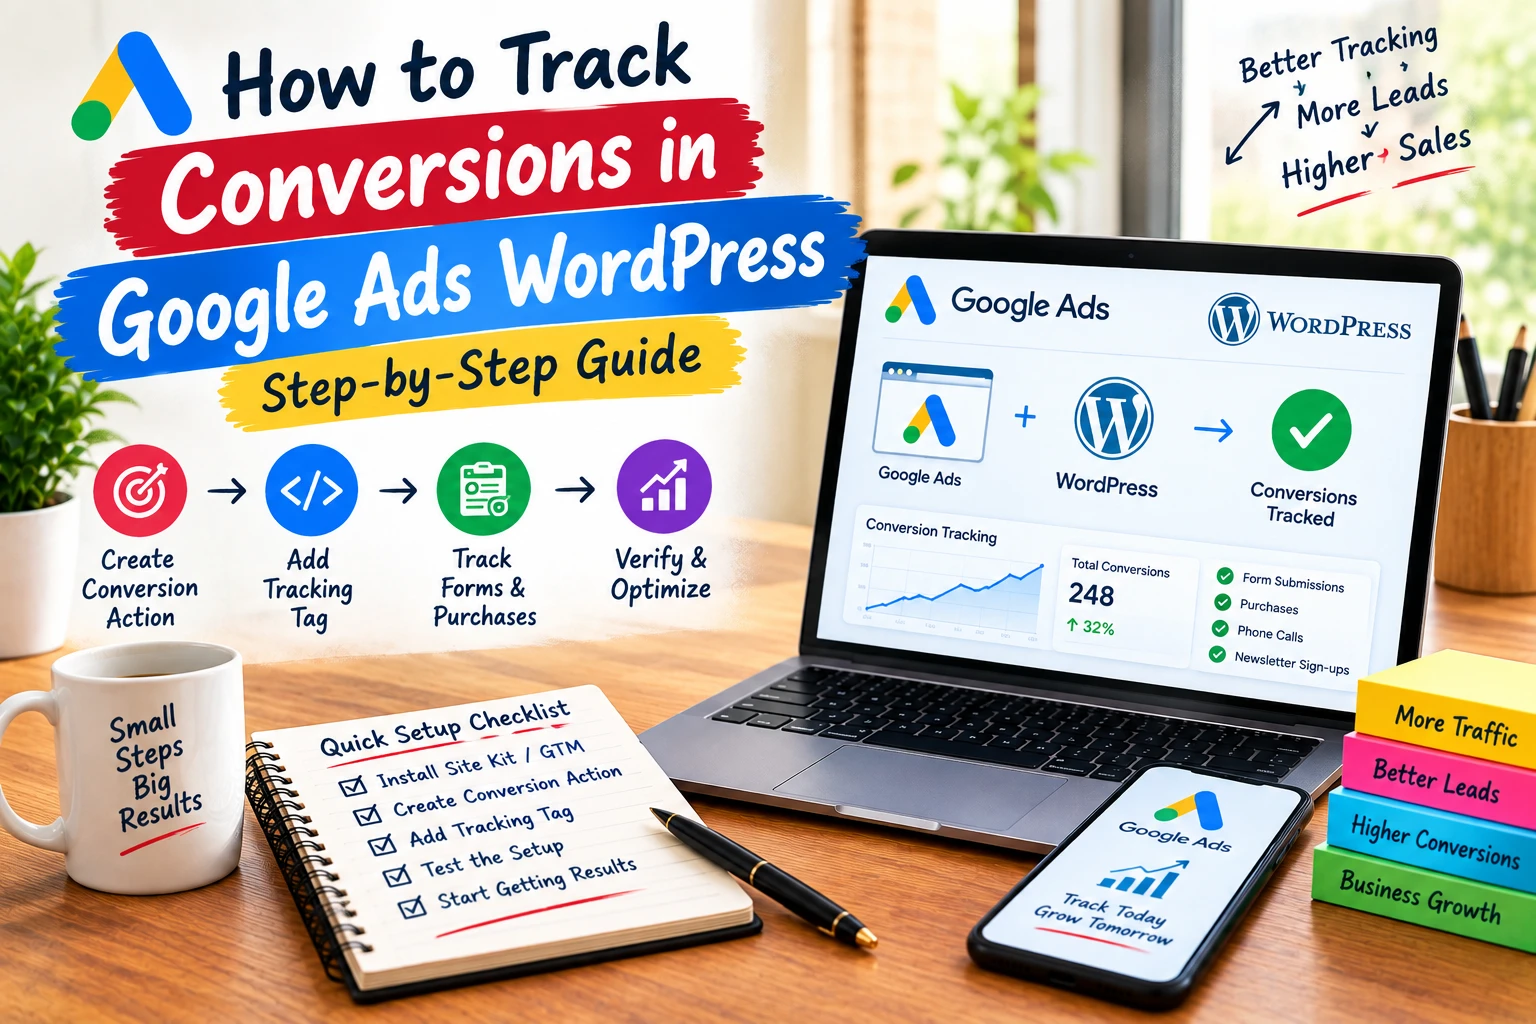
You’re spending money on ads and clicks are showing up, but you still don’t know how many of those clicks actually turned into a lead or a sale. That gap is exactly what conversion tracking closes, and getting it right on WordPress is more straightforward than most guides make it sound.
This walkthrough covers how to track conversions in Google Ads WordPress from the very first step, creating the conversion action, all the way through verifying the setup actually works. It also covers the mistakes that trip up most beginners, since those are usually the real reason tracking “doesn’t work.”
Table of Contents
ToggleHow to Track Conversions in Google Ads WordPress
A conversion is any specific action you’ve decided counts as valuable: a submitted contact form, a completed purchase, a phone call, or a newsletter sign-up. Google Ads doesn’t automatically know what counts, you have to define it.
Once defined, that action becomes a conversion action inside your account. A small tracking tag then gets placed on your site, and it fires whenever that specific action happens, reporting the result back to Google Ads.
This is different from Google Analytics, which tracks broader site behavior like pages visited and time on site. Conversion tracking is narrower and more specific: it exists purely to tie a result back to the ad click that caused it.
It’s worth understanding why this matters beyond simple reporting. Google’s automated bidding strategies, things like Target CPA or Maximize Conversions, rely entirely on this data to decide which keywords, audiences, and times of day to favor. A WordPress site running ads without proper conversion tracking is effectively handing its bidding decisions to an algorithm with no real feedback loop, which tends to waste budget rather than improve results over time.
The Simplest Path for Most WordPress Sites
If you only want one form or one purchase flow tracked and don’t want to touch code, the simplest setup uses Google’s own Site Kit plugin. It connects your WordPress site to your ads account and handles placing the base tag automatically.
For anyone comfortable with a bit more setup, Google Tag Manager gives you more control and scales better if you plan to track multiple actions later. It takes a few more steps to configure but pays off once you need anything beyond one simple form.
A fully manual approach, pasting the tag directly into your site’s header, works too, but it’s the least flexible option long term. It’s fine for a single action on a simple site, less so once your tracking needs grow.
There’s no single “correct” answer here, and most guides overcomplicate this decision. If you’re not sure which route fits, start with whichever one matches your comfort with code, since all three methods ultimately connect to the same conversion action inside Google Ads.
Step-by-Step: Creating the Conversion Action
Regardless of which tag-delivery method you use, the conversion action always gets built first, inside your Google Ads account, not inside WordPress.
Step 1. Log in to Google Ads, click the plus icon in the left menu, and select Conversion action.
Step 2. Choose the type of action you’re measuring: website, app, phone call, or import. Most WordPress setups use Website.
Step 3. Enter your site’s URL and let Google scan it. You can then build the action automatically from a suggested goal, or set it up manually for full control.
Step 4. Name the action clearly, choose a category like Submit lead form or Purchase, and decide whether to count One conversion per click or Every occurrence.
Step 5. Save the action. Google Ads will then generate a Conversion ID and Conversion Label, which you’ll need for whichever tagging method you use next.
Getting the Tag onto Your Site
With the conversion action created, the tag itself needs to reach your site somehow. There are three realistic routes, and picking one deliberately, rather than mixing two, prevents a lot of the duplicate-data problems people run into later.
Site Kit installs from the WordPress plugin directory and connects directly to your Google account, handling tag placement without any manual code. Tag Manager requires creating a container, adding a conversion tag inside it with your Conversion ID and Label, setting a trigger, and publishing the container. A manual approach means pasting the base site tag into your theme’s header, usually through a lightweight snippet plugin rather than editing theme files directly.
Whichever method you pick, give it time to start showing data. New conversion actions typically sit as “inactive” for a few hours after setup, even when everything is configured correctly, before switching to active once real activity is detected.
Tracking Form Submissions
Forms are the most common thing WordPress site owners want measured, and the most reliable method doesn’t try to detect the submission event directly. Instead, it uses a dedicated thank-you page.
Build a simple confirmation page with a clear URL, something like /thank-you/, and set it to noindex in your SEO plugin since it isn’t content meant to rank. Then update your form plugin’s confirmation settings to redirect visitors there after a successful submission.
Place your conversion tag specifically on that thank-you page, either through a URL-based trigger in Tag Manager or a direct snippet if you’re going the manual route. Every time someone lands there after submitting, that’s counted as a result.
This approach works with essentially any WordPress form plugin, since it relies on the redirect rather than plugin-specific code. WPForms, Gravity Forms, and Contact Form 7 all support this kind of confirmation redirect out of the box.
Tracking Purchases and Other Ecommerce Actions
Ecommerce measurement needs one extra piece that form tracking doesn’t: purchase value. A conversion action for a sale should capture how much the transaction was worth, not just whether it happened.
Set this up under Tools, Measurement, Conversions in Google Ads, selecting Website and filling in the purchase-specific details. For WooCommerce specifically, a dedicated plugin usually handles passing transaction value, currency, and a unique transaction ID automatically.
That transaction ID detail matters more than it looks. Without it, a customer refreshing their confirmation page can accidentally get counted as two separate purchases instead of one, quietly inflating your numbers.
Tracking Phone Calls from WordPress
Not every valuable action on a WordPress site is a form or a purchase. If your business relies on phone inquiries, calls deserve their own conversion action rather than being left unmeasured.
There are two distinct ways to capture this. Click-to-call tracking counts a result automatically whenever someone taps a phone number displayed directly inside the ad itself, no website involvement needed. Website call tracking works differently, using a temporary tracking number that replaces the one shown on your site, then forwards the call through to your real line while logging it as a conversion.
Setting up website call tracking usually requires enabling call reporting inside your Google Ads account and, depending on your setup, a small script or plugin that swaps the displayed number dynamically. It’s a slightly more involved setup than form tracking, but for phone-heavy businesses like local services, it often captures a meaningful share of conversions that would otherwise go completely unmeasured.
Common Beginner Mistakes
Most tracking problems trace back to a handful of repeated mistakes, not some obscure technical bug. Knowing them in advance saves a lot of frustrating troubleshooting later.
Running two tracking methods at once is the most common one. A site with both a manually pasted tag and a plugin doing the same job will often double-count results, since both fire independently for the same action.
Placing the tag on the wrong page is another frequent issue, especially with single-page forms that don’t redirect anywhere. Without a distinct thank-you page, there’s no reliable moment to attach the tag to.
Skipping the link between Google Ads and Google Analytics leaves useful cross-platform data disconnected. It’s a five-minute setup under Admin settings in Analytics, but it’s easy to forget since it isn’t strictly required for basic conversion tracking to work.
Expecting instant results is the last common trap. A brand-new conversion action showing “inactive” for a few hours isn’t broken, it just hasn’t logged enough real activity yet to switch status.
How to Verify Tracking Is Actually Working
Never assume a setup works just because nothing threw an error. Verification takes five minutes and saves you from trusting broken numbers for weeks.
Install Google Tag Assistant, a free browser extension, and walk through the actual conversion path yourself: click your ad or visit the page directly, complete the form or purchase, and watch whether the extension shows the tag firing in real time.
If you’re using Tag Manager, its built-in Preview mode does the same job without a separate extension, and it’s often faster for catching a misconfigured trigger before you publish live.
Finally, complete one real test conversion and check Google Ads a few hours later. Seeing that single test result appear under Campaigns, Segment, Conversion action confirms the whole chain, from tag to conversion action to reporting, is actually connected.
Troubleshooting: When the Numbers Don’t Match
Even a working setup can show numbers that don’t quite add up, and most mismatches have a specific, identifiable cause rather than a mysterious bug.
If data isn’t appearing at all, it’s almost always a tag problem. Rebuild the setup from scratch and double-check the Conversion ID and Label match exactly what’s shown in your Google Ads account, since a single mistyped character breaks the connection silently.
If numbers look inflated, check for duplicate tracking methods running at once, or a thank-you page that visitors can reach without actually submitting the form, such as through a bookmark or a back-button refresh. A quick way to rule this out is checking whether the same visitor session generated more than one conversion in your Analytics data around the same timestamp.
If Google Ads and Analytics totals differ, that’s often expected rather than broken. The two platforms count things slightly differently, and a missing account link under Admin settings in Analytics is the most common fixable cause of a bigger-than-normal gap. It’s also worth remembering that Google Ads attributes a conversion to the last qualifying ad click, while Analytics may attribute the same session differently depending on your configured attribution model, which alone can explain a modest, ongoing gap between the two dashboards.
Caching plugins deserve a specific mention here, since they’re an easy thing to overlook. If your site uses aggressive page caching, a cached version of your thank-you page can sometimes be served without the tracking script re-firing correctly, especially right after you first install or update the tag. Excluding your thank-you page from caching, even temporarily during setup, removes this as a variable while you’re troubleshooting.
Conclusion
Setting this up correctly comes down to a short, repeatable sequence, create the conversion action inside Google Ads first, choose one tag-delivery method and stick with it, route form conversions through a dedicated thank-you page, and pass accurate transaction data for any purchase-based action. Following the right process for how to track conversions in Google Ads WordPress helps keep your conversion data consistent. When implementing how to track conversions in Google Ads WordPress, use one reliable tracking method instead of combining multiple methods unnecessarily.
The beginner mistakes covered here, running two tracking methods at once, skipping verification, and expecting instant results, account for most of the “my tracking isn’t working” questions people run into. If you take one thing away from this guide on how to track conversions in Google Ads WordPress, it’s this: test with one real conversion before trusting the data. A careful approach to how to track conversions in Google Ads WordPress can help you identify tracking problems before they affect campaign optimisation. Once you understand how to track conversions in Google Ads WordPress, the rest of the setup tends to hold up on its own.
How Dizispark Can Help
Dizispark builds this kind of measurement setup as a standard part of launching any WordPress campaign, verified with a real test conversion before a client’s budget starts spending. That includes forms, WooCommerce purchases, and phone call results, set up once and checked rather than left to guesswork.
For local businesses running campaigns alongside this setup, Dizispark also keeps GMB aligned with paid tracking data, since search, maps, and ad performance all ultimately feed the same lead pipeline. Every setup is scoped to the client’s actual forms and sales flow rather than a copy-pasted snippet used across every account.
Frequently Asked Questions
How do I track conversions in Google Ads WordPress?
To learn how to track conversions in Google Ads WordPress, first create a conversion action in your Google Ads account. Understanding how to track conversions in Google Ads WordPress helps you choose the right action, such as form submissions, purchases, or phone calls. The process of how to track conversions in Google Ads WordPress then requires installing the appropriate tracking tag and testing the setup. Always confirm that Google Ads records the conversion before using the data for campaign optimization.
Why is Google Ads conversion tracking important for WordPress?
How to track conversions in Google Ads WordPress is important because it helps measure whether your advertising campaigns are generating useful results. Knowing how to track conversions in Google Ads WordPress allows you to identify which ads, keywords, and campaigns produce valuable actions. A clear understanding of how to track conversions in Google Ads WordPress can also help improve bidding and budget decisions. Without accurate tracking, Google Ads may optimize toward clicks instead of meaningful conversions.
Can I track form submissions in Google Ads WordPress?
Yes, how to track conversions in Google Ads WordPress can include tracking successful WordPress form submissions. Learning how to track conversions in Google Ads WordPress for forms usually involves creating a conversion action and configuring the tracking tag to fire after submission. The correct approach to how to track conversions in Google Ads WordPress may use a dedicated thank-you page or another reliable form trigger. Always complete a test submission to confirm that Google Ads records the conversion correctly.
How do I set up Google Ads conversion tracking without coding?
If you want to learn how to track conversions in Google Ads WordPress without writing code, Google Site Kit or Google Tag Manager can simplify the implementation. These tools can help with how to track conversions in Google Ads WordPress when you need to measure forms, clicks, or other website actions. Choosing the right method for how to track conversions in Google Ads WordPress depends on your website and tracking requirements. Site Kit can be simpler for basic setups, while Google Tag Manager provides more control.
Can Google Tag Manager help track conversions in WordPress?
Yes, Google Tag Manager can simplify how to track conversions in Google Ads WordPress when your website uses multiple tracking tags. Understanding how to track conversions in Google Ads WordPress through Tag Manager allows you to create triggers for forms, button clicks, page visits, and other actions. A structured approach to how to track conversions in Google Ads WordPress also makes it easier to manage tracking without repeatedly editing WordPress code. Test each trigger carefully before publishing changes.
How do I track WooCommerce purchases with Google Ads?
For how to track conversions in Google Ads WordPress on WooCommerce, create a purchase conversion action in Google Ads. The process of how to track conversions in Google Ads WordPress for ecommerce should include important transaction information such as purchase value, currency, and transaction ID. Correctly implementing how to track conversions in Google Ads WordPress can help prevent duplicate purchase conversions and improve reporting. Ecommerce tracking plugins can simplify implementation for many WordPress stores.
Why are my Google Ads conversions not showing in WordPress?
If you are troubleshooting how to track conversions in Google Ads WordPress, first check your Conversion ID and Conversion Label. Reviewing how to track conversions in Google Ads WordPress also means verifying that the tracking tag is installed correctly and fires when the desired conversion occurs. When checking how to track conversions in Google Ads WordPress, Google Tag Assistant and Google Tag Manager Preview can help identify implementation problems. Also check whether another plugin or tracking method is interfering with the setup.
How do I test Google Ads conversion tracking on WordPress?
Testing how to track conversions in Google Ads WordPress requires completing the same action that a real customer would take. A proper test of how to track conversions in Google Ads WordPress can include submitting a form, placing a test order, or completing another configured conversion action. Verifying how to track conversions in Google Ads WordPress with Google Tag Assistant or Google Tag Manager Preview can confirm whether the tag fires correctly. Finally, check Google Ads to confirm that the conversion data is being received.